How To Make Ombre Nails With Acrylic

Alexandra Nanette On Instagram Pink White Ombre Picture Tutorial Pinknails Ombre Gel Nails Diy Acrylic Nails Ombre Acrylic Nails

Pin By 1 505 302 8105 On Mabatho Chego S Nail Board Ombre Gel Nails Diy Acrylic Nails Ombre Acrylic Nails

How To Do Ombre Nails 2021 Update Naildesignsjournal Com Ombre Nail Diy Pink Ombre Nails Ombre Gel Nails

Pin By Erica Terrones On Nails Ombre Nails Tutorial Pink Ombre Nails Ombre Acrylic Nails

20 Great Ideas How To Make Acrylic Nails By Yourself 1 Ombre Nails Glitter Coffin Nails Ombre Pink Ombre Nails

Perfect Ombre Blend Acrylic Nail Youtube Nails Best Acrylic Nails Acrylic Nail Designs

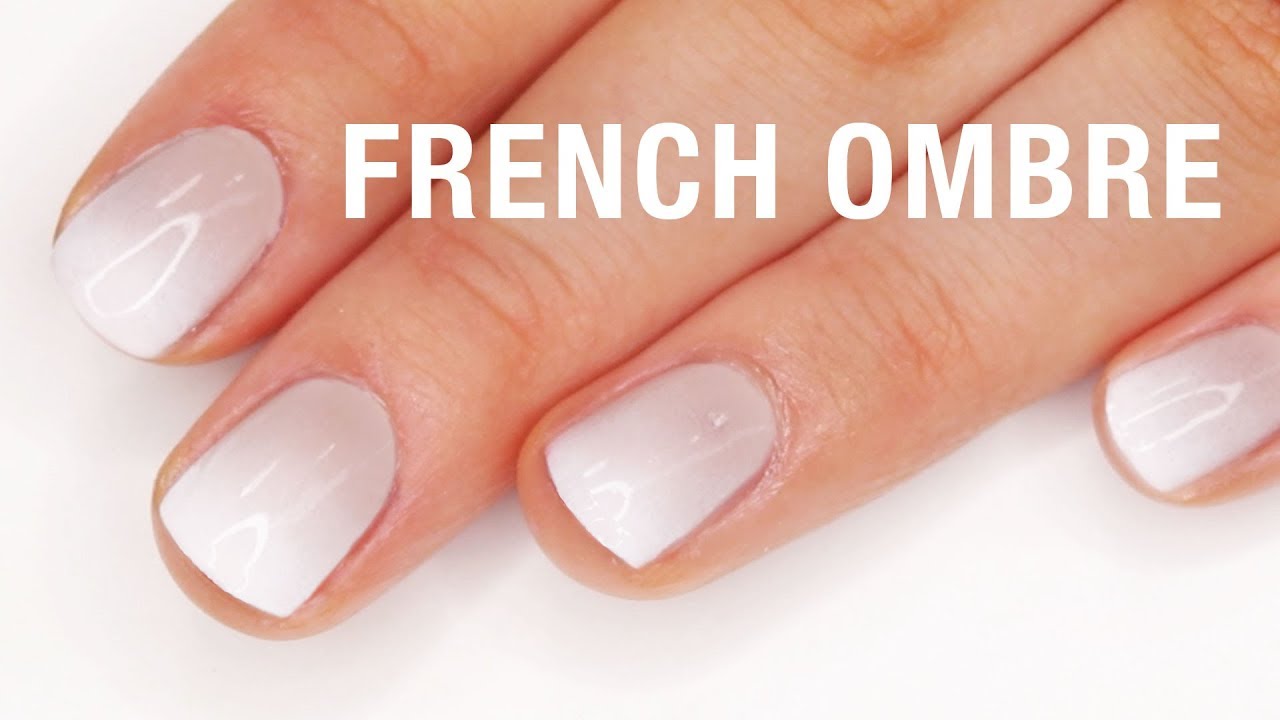
I will be covering how to create the perfect ombre on acrylic and gel nails.
How to make ombre nails with acrylic. See more ideas about nails beautiful nails nail designs. It is non-toxic and is water-based and dries fast. Here we are using CL-64.
Just make sure to study our guide carefully to master DIY ombre nails. Now pick up the makeup sponge and on the small end of the sponge proceed to paint on layers of your preferred polish shades in the order and style you want them. Start at the cuticle area and work your way down the nail.
Its time start to learning the ombre or gradient nails article. Hope you guys enjoyed this tutorial. If you want to do some Ombre Nail art then you are going to need at least three coats of the dye a white base coat to seal it and then you can put the nails on.
The pigment from the acrylic powder will transfer onto the nail plate without increasing the amount of acrylic powder on the nail. You will have to work fast as acrylic. The pattern can be vertical horizontal diagonal and anything in between.
The first thing you need to do before you get started is to make sure that you have all the supplies you need. The ombre polish can still use a light pinknude with a white tip but instead of painting on the tip either an airbrush or a sponge is used for a blended effect having a gradual. Then use white or your lightest color to create your base color coat.
Push the nail back using the rounded manicure stick this is must for those who have shorter nails as this would certainly make your nails appear longer. Once you are fully happy with your blend you are then going to cap the whole nail in clear acrylic. So feel free to watch that or follow along through our photos.
Pin On Hair And Makeup
20 Great Ideas How To Make Acrylic Nails By Yourself Nail Naildesigns Ombre Acrylic Nails Nails Ombre Nails

Ombrenails Ombre Nails Glitter Pink Acrylic Nails Ombre Acrylic Nails


